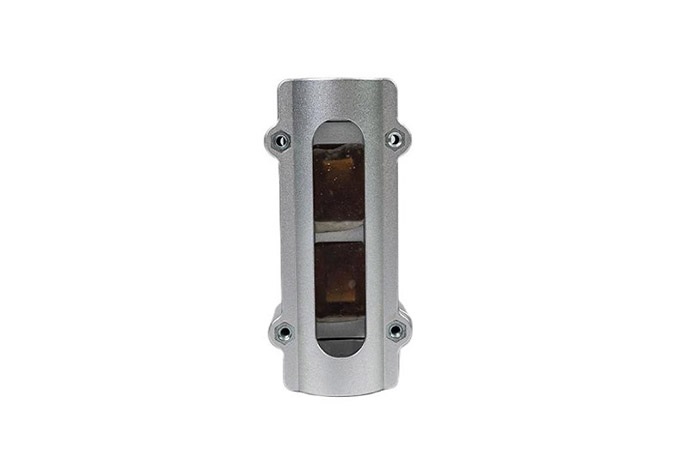
To preserve accurate measurement and prolong lifespan, an ultrasonic flow meter must receive regular attention to its sensor surfaces, signal paths, and mechanical mounts. Because the device relies on transmitting and receiving acoustic pulses through the pipeline, any deposit, scratch, or misalignment on the transducer interface will degrade the ultrasonic signal and thus reduce accuracy. The acoustic coupling surfaces must remain clean and flat, and the gel or coupling medium (if used) must be renewed when it dries or becomes contaminated. Vibration, thermal expansion, or mechanical stress can slowly shift transducer alignment, so periodic checks of alignment and mechanical tightness are essential.
Also, in systems where fluids carry suspended solids or scale-forming agents, inspecting for fouling or scaling is critical—the internal facing surfaces of the pipe near transducer locations must remain smooth and free of irregular buildup. Protective shielding against external electromagnetic interference, moisture ingress, and physical shock helps maintain the internal electronics' stability. Because Kingspray positions itself among professional ultrasonic flow meter manufacturers with vertical control over materials and calibration, users benefit from design margins that tolerate minor drift, but proper care remains necessary to fully leverage that robustness.
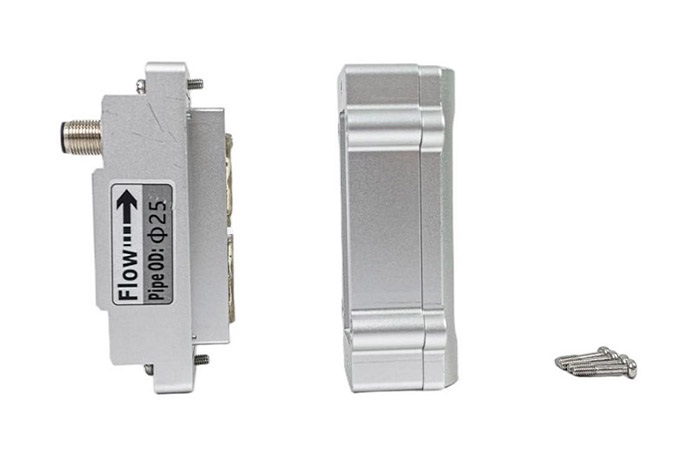
In an ultrasonic flow meter, each transducer plays a vital role in sending and receiving acoustic pulses. Over time, deposits or pitting may accumulate on the transducer face, diminishing signal strength. It is advisable to inspect the transducer surfaces monthly (or according to process severity) and gently clean them with lint-free cloths and compatible cleaning solvents that will not damage the piezoelectric element or coatings. If the transducer has protective windows or covers, ensure that those windows remain scratch-free and optically clear, as small imperfections can distort the ultrasonic beam path.
Whenever the transducers are removed for inspection or cleaning, be sure to reestablish the correct gap, alignment, and tightening torque specs as defined by the manufacturer, because even small angular deviations can introduce measurement error. In Kingspray's ultrasonic flow meter products, particular attention is given to coupling geometry and mounting precision to minimize drift, but user maintenance is still essential to uphold long-term stability.
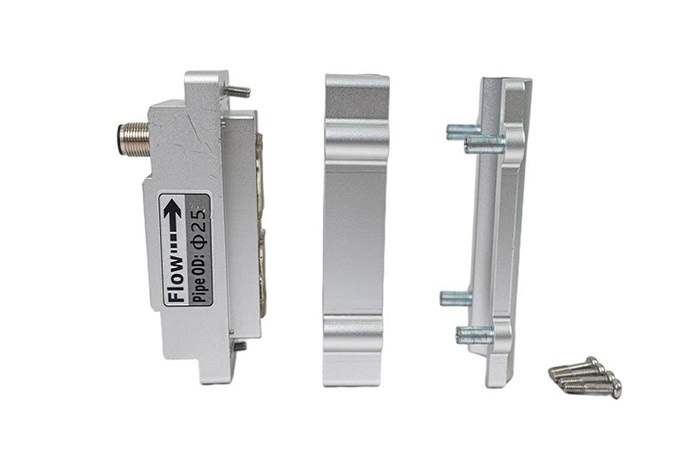
Periodic calibration and verification are essential for an ultrasonic flow meter to remain reliable, especially in critical process control systems. For stable fluids, an annual calibration check against a reference standard or traceable calibration rig is normally adequate; in harsher or more variable environments, more frequent checks (semi-annual or quarterly) may be needed. When verifying, one should test across at least three points (low, mid, high flow) to detect nonlinearity drift.
If readings deviate beyond acceptable tolerances, the meter should be calibrated, or internal configuration adjustments made (such as gain or offset tuning). Kingspray's ultrasonic flow meters, like the FU-X EchoSense and FU-AS series, are factory calibrated, and their performance depends on stable electronics and sensors; but only external verification can confirm the meter retains its factory accuracy in real installations.
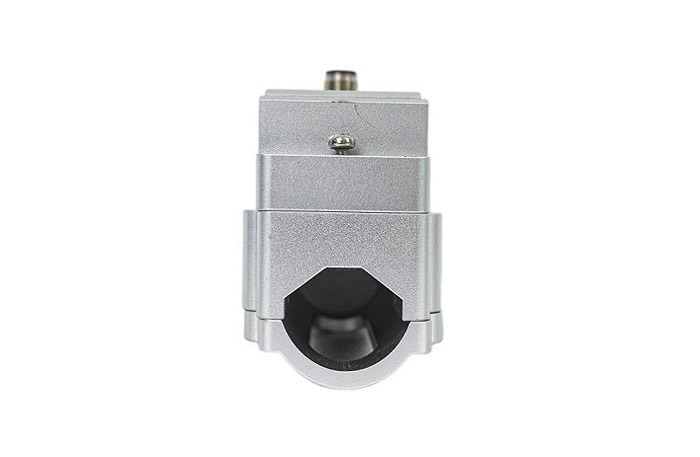
Even well-engineered ultrasonic flow meter systems may suffer occasional issues. When signals weaken or readings drift, common culprits include fouling at the transducer interface, misalignment, air bubbles or gas entrainment in the fluid, or degraded coupling medium. In clamp on type ultrasonic flow meter, mechanical slippage or coupling shift is a frequent cause of drift. Inspect the mounting brackets, ensure firm contact, and re-tighten clamps if needed.
In pipeline units, internal scale or corrosion may erode measurement accuracy; periodic internal cleaning or chemical passivation might be necessary. If noise or jitter appears in the output, check for electrical grounding, shielding integrity, and power supply stability. If flow profiles change (due to upstream valves or turbulence), repositioning or adding straight runs may help stabilize measurement. When in doubt, Kingspray's support documentation and calibration labs can assist in diagnosing and guiding corrective maintenance for their ultrasonic flow meter line.
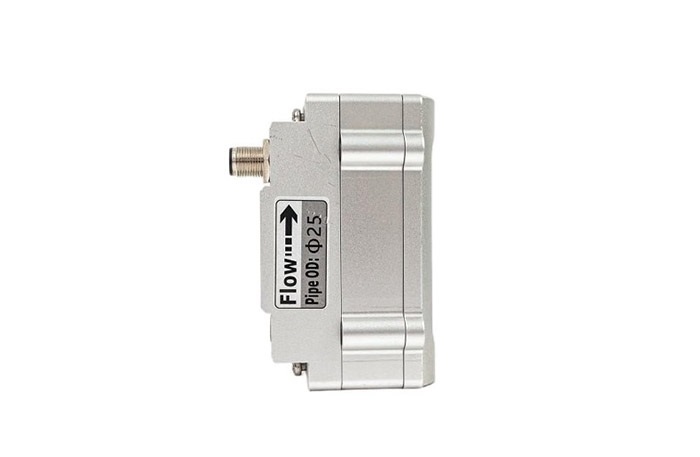
To maximize the service life of an ultrasonic flow meter, adopt a proactive maintenance mindset. Ensure the fluid quality is filtered to remove particulates that can abrade transducer windows. Avoid exposing the instrument to sudden temperature shocks—thermal expansion mismatches can degrade seal integrity or sensor alignment. Maintain a vibration dampening mount if the pipeline is subject to mechanical shaking. Keep firmware or signal processing modules up to date if manufacturer updates become available. Always protect the meter from moisture ingress in humid or outdoor installations, using proper enclosure strategies.
Finally, document each inspection, cleaning, and calibration event—historical data will help detect gradual drift or trending degradation, enabling preventive maintenance rather than reactive replacement. Because Kingspray, as one of the well-integrated ultrasonic flow meter manufacturers, offers consistent hardware and calibration control, users who apply disciplined care routines can enjoy long-term stability and confidence in the measurements their meters deliver.
